Sharing Lesson Plans
Reminder - Do not share copyrighted materials
When importing or exporting Lesson Plans you may not share copyrighted materials. Please honor the licensing rights of others. Shared Lesson Plans found to contain copyrighted materials will be removed from
the list. If you find a Lesson Plan on the list which you believe violates this standard, please contact Homeschool Tracker Support Staff. We appreciate your cooperation.
There are two aspects of Lesson Plan sharing in HSTOnline.
Sharing Your Lesson Plans
You may elect to make one or more of your Lesson Plans available to other HSTOnline users. You can share an entire Lesson Plan or any part of a Lesson Plan. Sharing your plan means copying the
Lesson Plan items and into a Shared location. You can give the Lesson Plan a name, and add a description about the contents or organization of the Lesson Plan to help others know whether or not it might
meet their needs.
 Lesson Plan Action Menu: Share
What does not transfer into a Shared Lesson Plan: Skills, Student Used Status
- On the HSTOnline menu, click or touch 'Lesson Plan' under the 'Schedules and Planning' section.
- On the Lesson Plan page, use the Lesson Plan Selector to choose an existing Lesson Plan Name.
- Use the Displaying/Status and Subject/Course filters to display the items you want to share.
- Choose the Lesson Plan items you want to share.
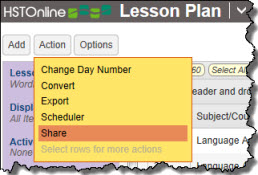
- Option 1: To share the entire Lesson Plan, click or touch the Action button and choose Share
- Option 2: To share selected items in the Lesson Plan, click the checkbox for each item you want to change and then click or touch the Action button and choose Share.
 Share Lesson Plan
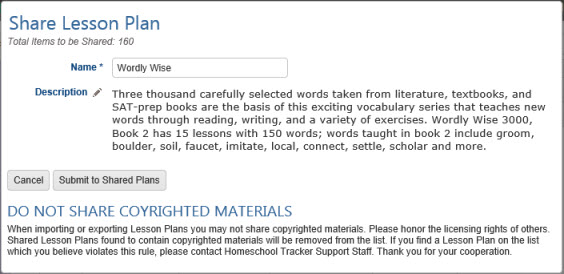
- The Share Lesson Plan window will show you the number of items selected to be shared.
- Name: This field will be auto-filled with the name of the Lesson Plan you are working with. You can change this name to anything you like, up to 150 characters.
- When considering the name of your Shared Lesson Plan, we recommend that you start with the primary subject name or curriculum name.
- Each Shared Lesson Plan must have a unique name. If you enter a name that is already in use in the Shared Lesson Plan list, you will be prompted to make another selection.
- Description: Use the Description field to give a brief overview of what is contained in the Lesson Plan. This description should include the main subject/courses and/or
curriculum included in the Lesson Plan. See Directions and Notes for an explanation of the text formatting available in the Description window.
- Click or touch:
- Cancel to abandon this process
- Submit to Shared Plans to add the selection to the Shared Lesson Plans list. When the process is completed, the 'LP added' window will appear.
 LP Shared Window
- Click or touch:
- Return to LP to return to the Lesson Plan you were working with
- Go to Shared Plans to go to the Shared Plan list where you can review the plans listed there.
Importing Lesson Plans Others Have Shared
You can choose to review Lesson Plans that other HSTOnline users have elected to make available.
Accessing the Shared Lesson Plan List
 HSTOnline Menu - Shared Lesson Plans
- On the HSTOnline menu, click or touch 'Shared Lesson Plans' in the 'Schedules and Planning' section.
 Shared Lesson Plan List
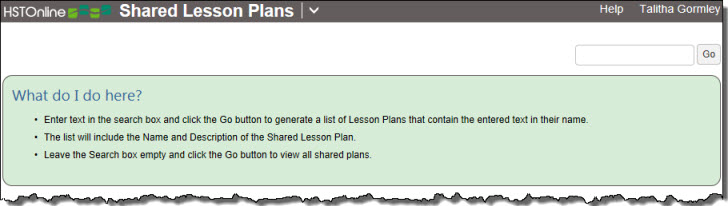
- Enter text into the Search box and click or touch the Go button to search for something specific, or leave the box blank and click or touch Go to see all the Lesson Plans in the list.
 Shared Lesson Plans - Search Results
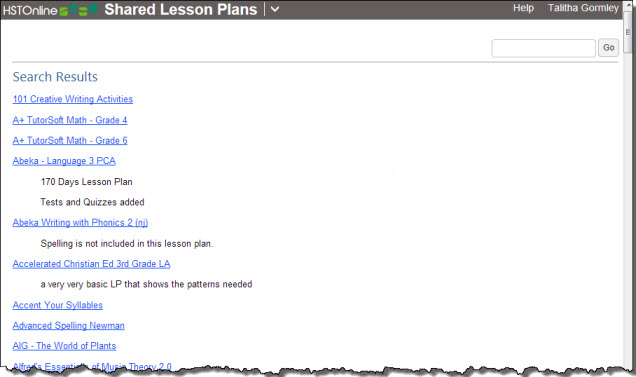
- Any Description that was offered along with the Shared Lesson Plan will be displayed under the Lesson Plan name.
Previewing a Shared Lesson Plan
- Click or touch on an entry in the Search Results to view the details of the plans to determine if it will meet your needs.
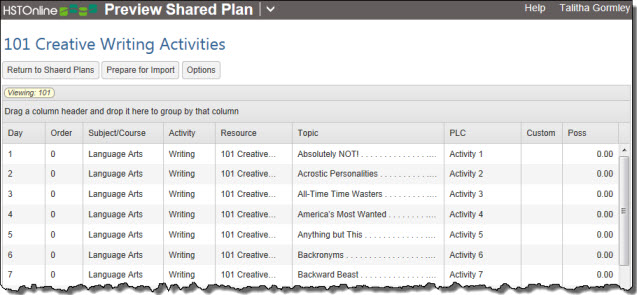 Shared Lesson Plans - Preview Shared Plan
- You can group or sort the Preview window as needed to help you review the items. HSTOnline will retain your settings each time you return
to the Preview screen.
- You can use Options: Choose Columns to change the view.
- The Links and Supplies columns will show the number of Links or Supplies tied to the Lesson Plan items. The details of those fields will not be available until you
- The Dir (*) and Notes (*) columns will display an asterisk if there are directions/notes for the item
- The Directions and Notes columns will show the first 150 characters in plain text from those fields
- Click or touch:
- Return to Shared Plans to return to your Search Results and select another plan to preview
- Prepare for Import to move to the final step in bringing this Lesson Plan into your database
- Options to change which columns are in view, or to expand or collapse groupings you have set.
Preparing a Shared Lesson Plan for Import into your Database
- In the Import Lesson Plan Items window, you can make some changes to the Lesson Plan before completing the import process.
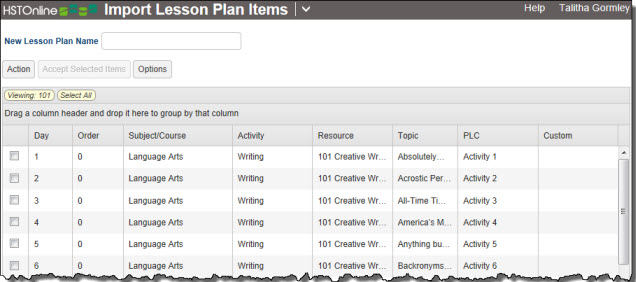
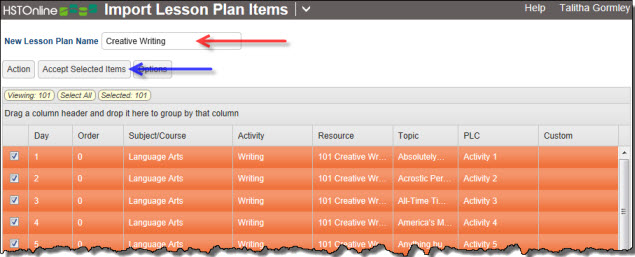
- New Lesson Plan Name: Enter a name for the Lesson Plan you are importing, up to 150 characters. The Lesson Plan Name cannot be identical to any other plan name in your
database.
- Once you have moved to the Import window, HSTOnline will compare the Subject/Course, Activity and Resource fields of the new Lesson Plan against your own database to look for any
exact matches. Any entry in those fields which does not have an exact match in your database will show an asterisk, the item name, and (NEW). You can
accept the new items as they are, or you can choose edit those entries to substitute with selections from your database.
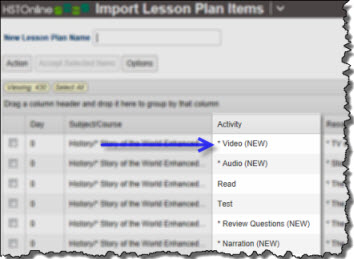 Import Lesson Plan - New Entries
- If you want to change any of these entries, choose the Lesson Plan items you want to edit.
- Click the checkbox for each item you want to change.
- You can use your mouse to click and drag over contiguous items in the list to select those items.
- On a touch device, you can touch and drag your finger over contiguous items in the list to select those items.
- Click or touch the Action button and choose Edit/Multi-Edit
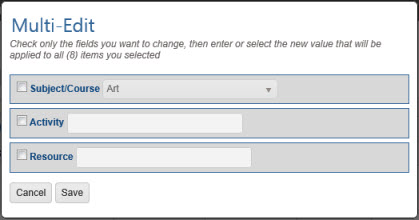 Multi-Edit Options
- You may choose to change the Subject/Course, Activity and/or Resource for your selected items.
- To change the Subject/Course, you must select an existing option from your database
- The Activity and Resource fields are Smart-Entry Fields. You may select an existing entry or create a new one in this form.
- After all of your changes, choose which items in this Lesson Plan you want to import. Click or touch the 'Select All' badge to select all the Lesson Plan items in the list. Alternatively,
- you can click or touch the checkbox for each item you want to import.
- you can use your mouse to click and drag over contiguous items in the list to select those items.
- on a touch device, you can touch and drag your finger over contiguous items in the list to select those items.
 Import Lesson Plan
- Click or touch Accept Selected Items to import the Lesson Plan into your database. HSTOnline will take you to the Lesson Plan page for the imported plan.
- If you do not want to complete the import process, use the HSTOnline menu to go to another area of the program.